In-app Documentation
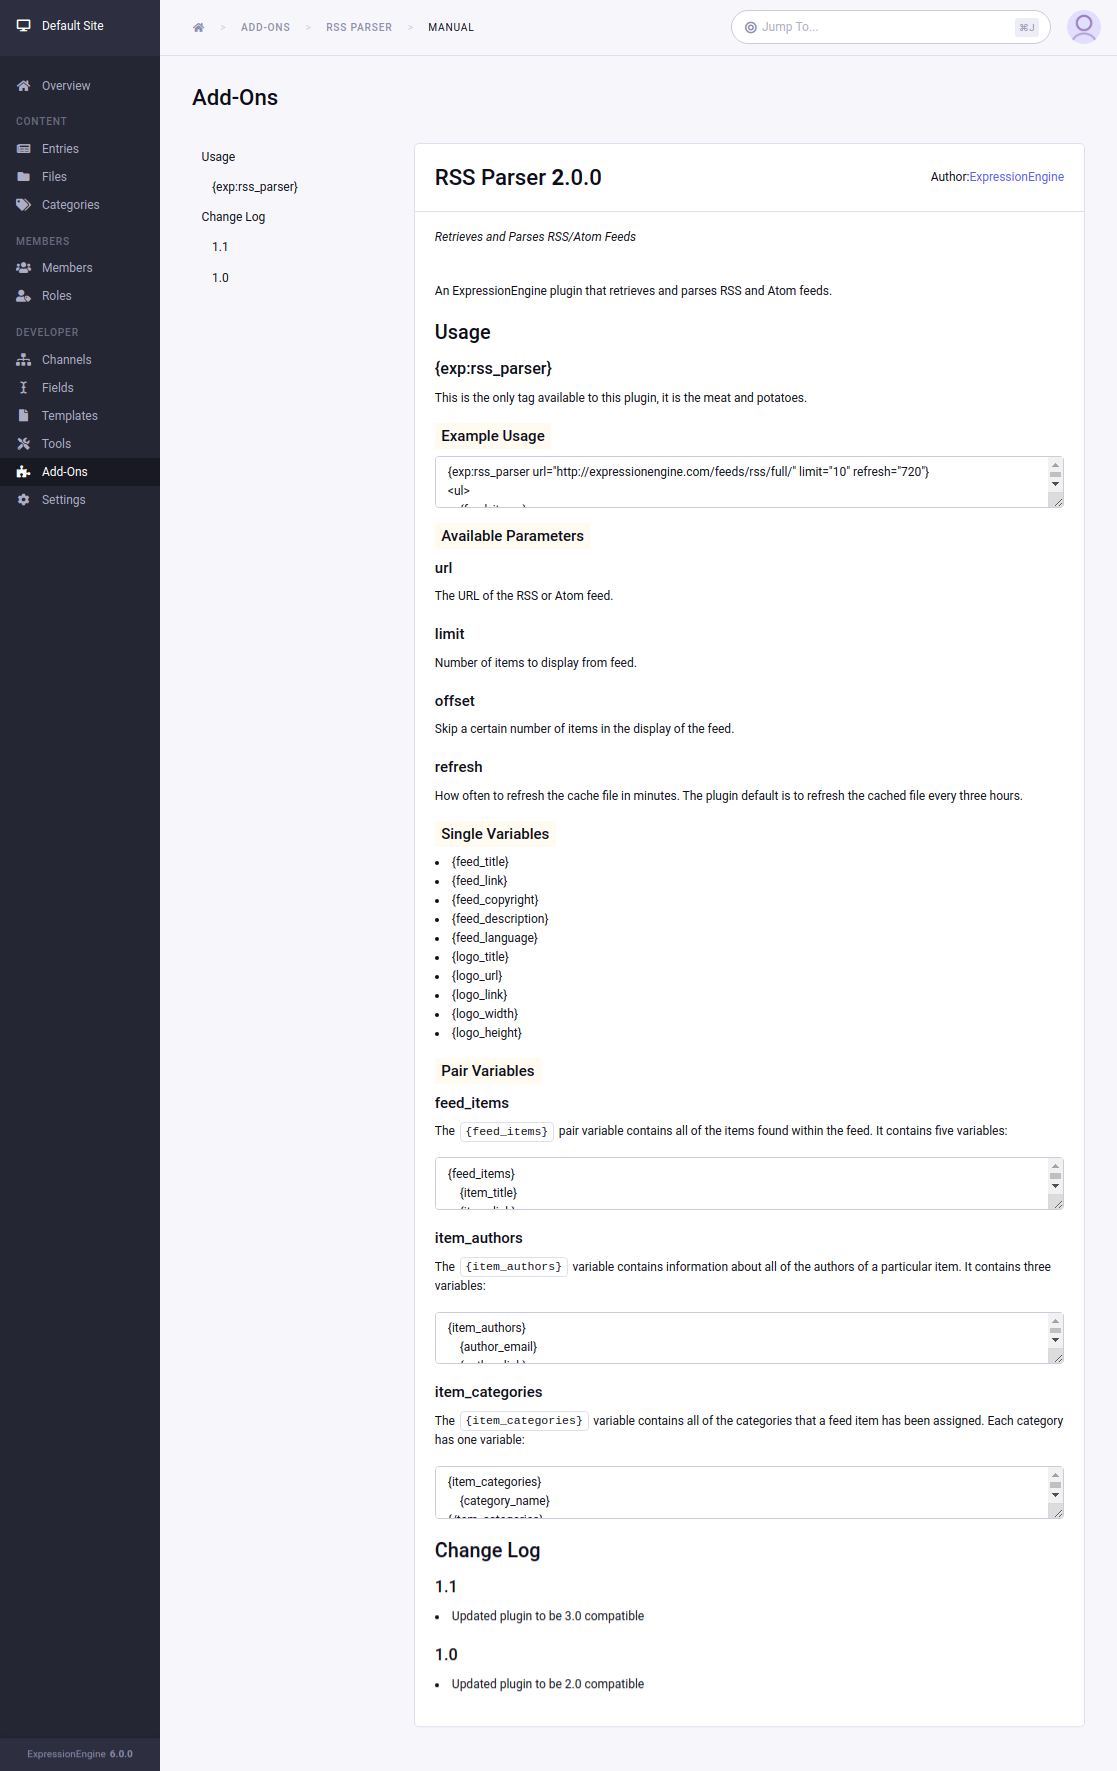
ExpressionEngine will render beautiful documentation for your add-on directly in the control panel if you follow a few simple guidelines. By including a README.md file in your add-on folder (like you probably already do on GitHub/BitBucket/etc.), and using the following Markdown as a template, your documentation will render nicely, and give your users a consistent experience throughout the control panel. And on its own outside of ExpressionEngine, it is still easy to read, and easy to write.

Tip: If you use GitHub, you can include a symlink at the top level of your repository to display your in-app documentation on your repo’s home page without having to duplicate any files. e.g.
Your Repo
├── your_addon
│   ├── addon.setup.php
│   ├── pi.your_addon.php
│   └── README.md (your in-app documentation readme)
└── README.md (symlink to the real README file)
To create a symlink, use the following command in your root folder: ln -s ./<your_addon>/README.md ./README.md
Markdown File Structure
The basic structure is:
Add-on Name
├── Requirements (optional)
├── Installation (optional)
├── Usage
│   └── {exp:tag}
│       ├── Example Usage
│       ├── Parameters
│       │   ├── param_name
│       │   └── another_param
│       └── Variables
│           ├── variable_name
│           └── another_var
├── Changelog
│   └── X.Y.Z
├── Disclaimer (optional)
└── License (optional)
Documentation Template
The template below demonstrates sections to include, the order to include them, and the meaning behind each header level.
# Add-on Name

A description of the add-on. Might include what it's purpose is, sample output, or use-case. The level 1 header is ignored in ExpressionEngine since we already output the Add-on name in the header. This full description however is rendered.

Any level 2 and 3 headers will appear in the side navigation as links. Thus, the structure below should be used. Your `README.md` will be easy to write and consume for GitHub, and look beautiful in ExpressionEngine and meet your users' expectations of a consistent experience throughout the control panel.

## Requirements

Optional, but put here if they exist.

## Installation

Optional, but put here if steps are required beyond copying the files and clicking install in ExpressionEngine

## Usage

Required ## heading, but does not have its own content, it is for the side menu only.

### `{exp:addon:method}`

Tags are level 3 headers under the **Usage** section. Here, describe what the general purpose of the tag is.

#### Example Usage

```
{exp:addon:method}
  Put a typical code example here.
  You can use code fencing or indented code blocks.
  It will be converted to a textarea in ExpressionEngine for each copying and pasting.
{/exp:addon:method}
```

#### Parameters

Describe any parameters this tag has. You should use either a bullet list like:

- `param_name` (required) - This is what this parameter does
- `another_param` - And this one is for such and such

or use level 5 headers like below. The latter should be used if you need more than a brief sentence to describe how to use the parameters. Choose one or the other, do not mix the two styles.

##### param_name (*required*)

Full description of `param_name` here.

##### another_param

Full description of `another_param` here.

#### Variables

Describe any variables this tag has. You should use either a bullet list like:

- `{variable_name}` - The thing
- `{another_variable}` - The other thing

or use level 5 headers like below. The latter should be used if you need more than a brief sentence to describe how to use the variables. Choose one or the other, do not mix the two styles.

##### param_name (*required*)

Full description of `param_name` here.

##### another_param

Full description of `another_param` here.

### `{exp:addon:another_tag}`

Repeat as above for every tag your add-on includes.

## Changelog

### 1.1

- Improved the handling of `param_name` options
- Fixed a bug where this might happen

### 1.0

- Released!

## Disclaimer

Optional, typically only needed when stating independence from trademarked third-party services the add-on might integrate with.

## License

Optional, but you may include a software license here if you don't store a separate file in your repo.
