Installing ExpressionEngine
Pre-Flight Check
Important: If you need to update your installation from an earlier version, see the Update Instructions instead.
Before getting started, make sure your web host and your browser meet all the System Requirements to run ExpressionEngine.
The following article assumes you are downloading Expressionengine from the ExpressionEngine Website. If you would like to install ExpressionEngine from our GitHub repository, be sure to follow the instructions found in the repo’s README file for repo specific instructions.
1. Prep the Database
You’ll need an empty database and the following credentials handy to install ExpressionEngine. If you’re not sure how to create a new database or find this information, ask your web host.
- MySQL Database Name
- MySQL Server Address (often
127.0.0.1orlocalhostor the server IP address) - MySQL Username
- MySQL Password
2. Upload the Files
Download the latest release of ExpressionEngine and copy the content of the ZIP file to a publicly-accessible directory on your server via FTP, SFTP, your hosting control panel, or other means.
3. Set File Permissions
You need to enable write access to the following files and folders.
For Apache, that would be 666 for files and 777 for directories, in a worst-case scenario. You should check with your web host to see if more restrictive permissions can be used to allow PHP to write to files and directories. See File Permissions for details.
For IIS, provide all permissions to the IIS user for these files and directories.
system/ee/system/ee/*(only top-level files and directories need modifying)system/user/config/config.phpsystem/user/cache/system/user/templates/images/avatars/images/captchas/images/member_photos/images/pm_attachments/images/signature_attachments/images/uploads/themes/ee/themes/ee/*(only top-level files and directories need modifying)themes/user/
Tip: On a Unix based system, you can use the following pattern in your terminal to set permissions recursively to what you need for folders and files. In this example, we are setting all directories in system/ee to 755 and all files therein to 644, recursively:
find system/ee \( -type d -exec chmod 755 {} \; \) -o \( -type f -exec chmod 644 {} \; \)
4. Run The Installation Wizard
- Point your browser to the URL of the
admin.phpfile you uploaded. For example:https://example.com/admin.php. - Follow the on-screen instructions to install ExpressionEngine.
- Once the Installation Wizard is finished, you should rename or remove the
system/ee/installer/directory from your server.
Tip: If you choose not to install the default theme, your site’s homepage will appear blank because no templates or content has been created yet.
Welcome to ExpressionEngine!
You can now log in to your Control Panel at https://example.com/admin.php!
If you’re new to ExpressionEngine, get started with the Ten Minute Primer.
Post-Installation Best Practices
Once you are confident that ExpressionEngine is working normally on your server, we recommend a few best practices for protecting your installation against common security risks.
Other Installation Options
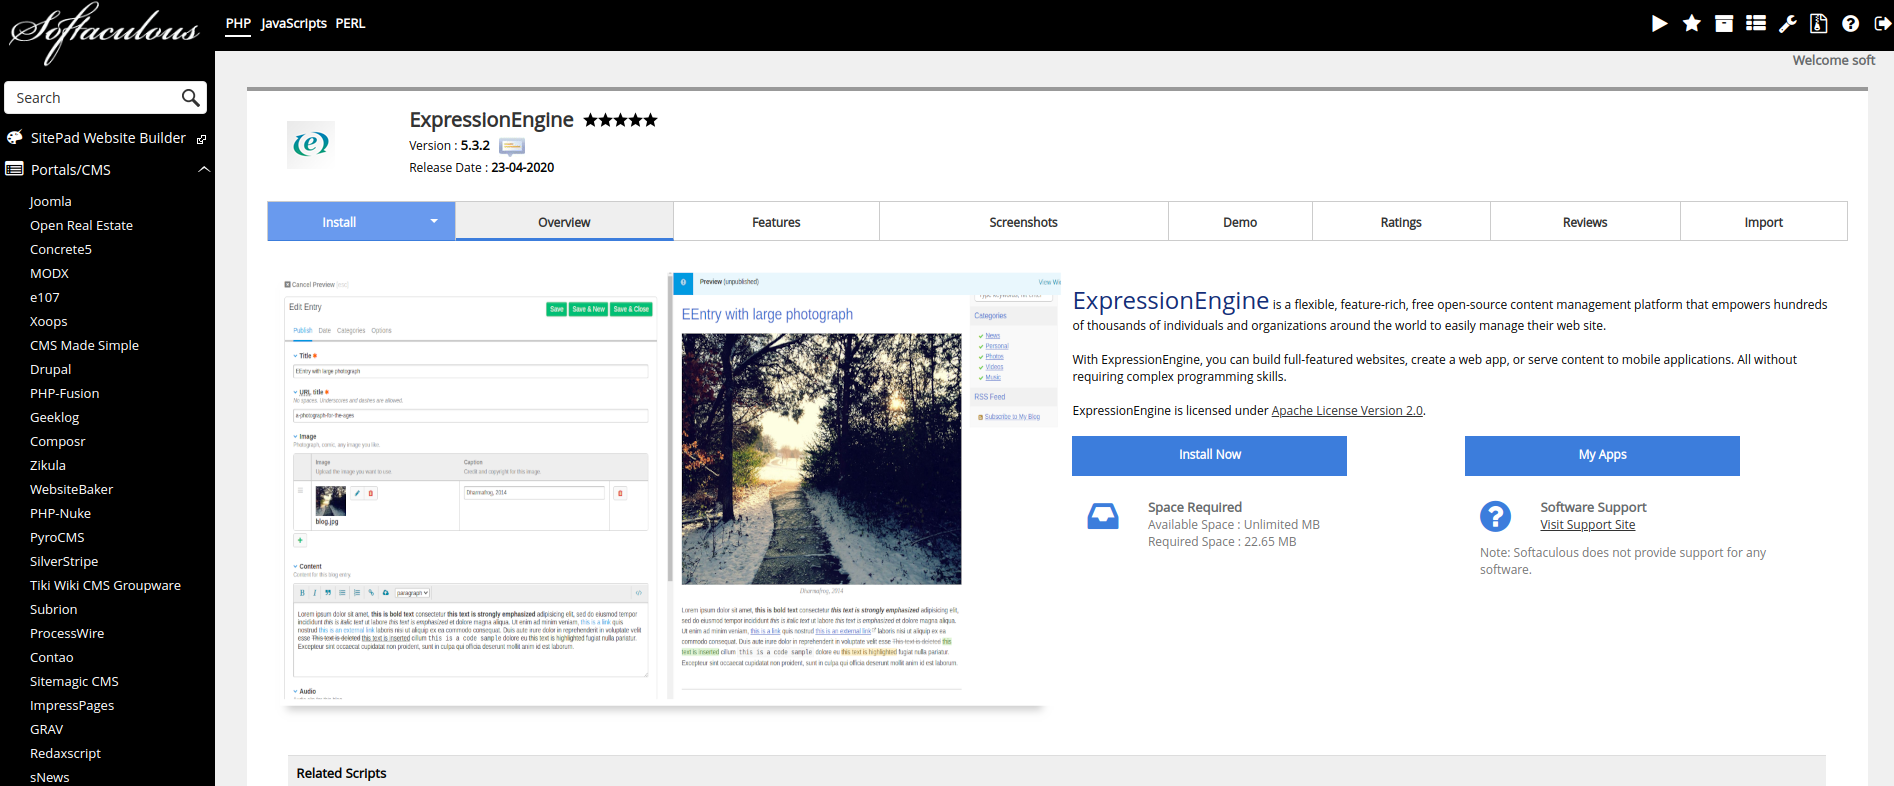
Install with Softaculous and cPanel
If your web host utilizes the cPanel admin tool with the Softaculous auto installer, you can one-click install ExpressionEngine. Simply navigate to Softaculous, search for ExpressionEngine under “Portal/CMS” and click “Install Now”.