Create
Control Panel Location: Create
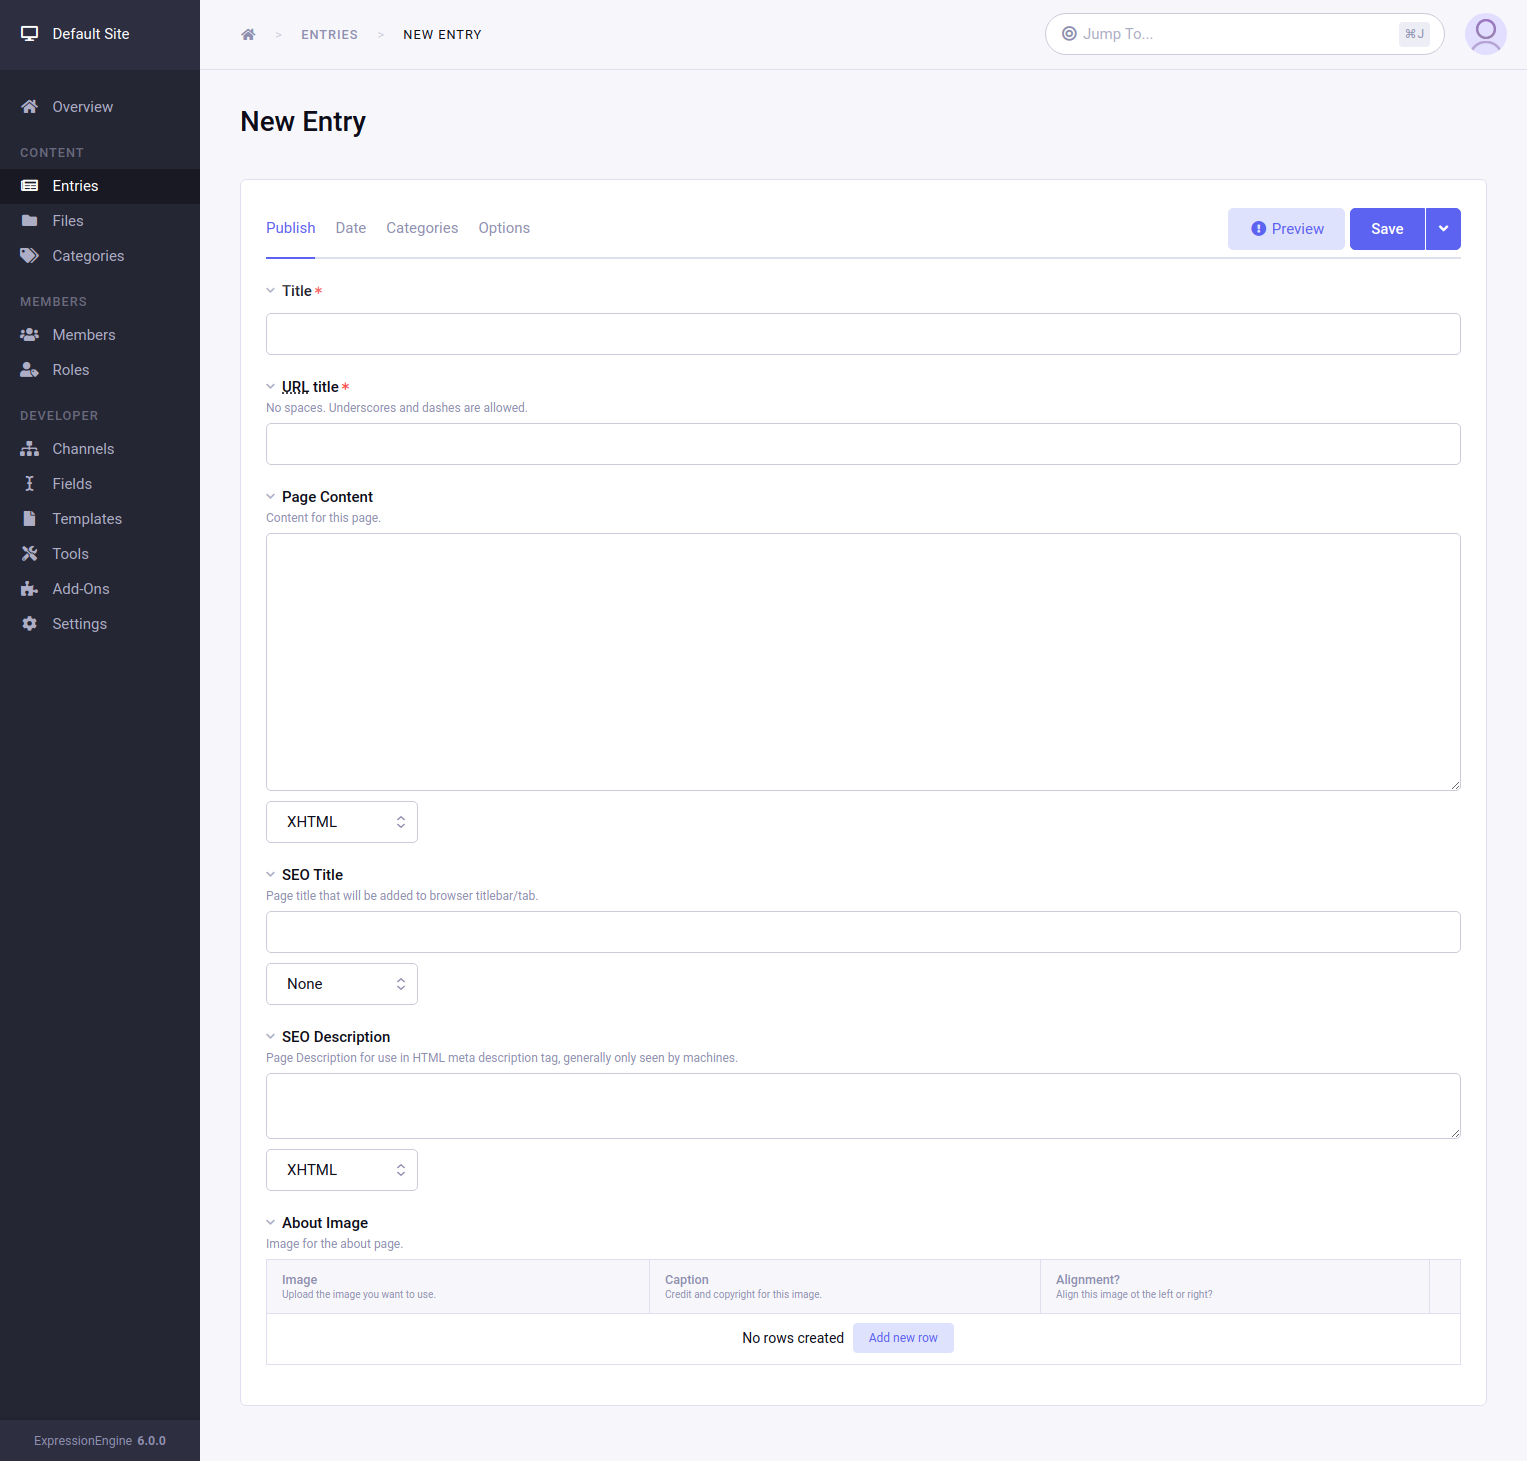
This is the area where you’ll create content for your site by publishing new Entries to your Channels. If you have more than one Channel, moving your cursor over the Publish menu will show all of your Channels and allow you to select one.
Tip: Site builders can customize the display of the Publish Page on a per Channel bases by creating a custom layout. Just go to the Channel manager and click ‘layouts’ to access the Publish Layouts.

Publish Form Tab
Title Field
This field contains the title of your channel entry. Titles can be up to 100 characters in length.
Tip: For those times where ‘Title’ isn’t really the appropriate title, you can set a custom descriptive name for this field on a per channel basis. Just edit the channel settings and specify a Title field label.
URL Title
Here you can define a “human readable” URL title for your entry. URL titles may only contain alpha-numeric characters, dashes and underscores; no spaces or unicode characters. The purpose of a URL Title is to enable your entries to be accessed using a URL such as:
https://example.com/channel/comments/joes_first_entry/
If you do not specify a “URL Title”, one will automatically be created for you based upon your entry Title. URL Titles must be unique within a channel, so if an entry with the same title already exists in that channel, then the URL Title will have a number appended to the end to make it unique.
Note: If you let the system create your URL Title for you, it will convert spaces into underscores by default. For example, if the title of your entry is “Joe’s First Entry”, it will be converted to “joes_first_entry”. If you prefer dashes to be used instead of underscores, you can change this with the Word Separator for URL Titles preference under Admin --> Channel Administration --> Global Channel Preferences.
Entry Fields
The names and types of entry custom fields displayed will be determined by what Fields you have defined for this channel.
If an entry field is set to “Hide field?” in the field settings, it will display as collapsed by default and will have to be expanded by clicking on the field name before content can be entered. This is overridden by the custom Publish Layout setting for that field.
If an entry field is set to “Collapse” in a Publish Layout, it will initially display collapsed and will have to be expanded by clicking on the field name before content can be entered.
If an entry field is set to “Hide” in a Publish Layout, it will not display at all, though its content will be preserved and unchanged if someone edits the entry. If the field is set to required, it cannot be hidden via a Publish Layout setting.
Fields can be conditionally hidden.
In order for the field to be available when publishing or editing an entry, it needs to be assigned to the channel the entry is in.
This can be done in two ways:
- assign custom field to a Field Group which is associated to the Channel
- assign field directly to channel by editing Channel preferences
Tip: When working with templates you will be referencing the field by its short name or tag pair. For convenience, the Publish form has a handy way to display the field short name in a click-to-copy format: ( ). This is enabled at the role level and controlled with the “Show field names on Publish” setting.
Due to security restrictions in modern browsers quick copying code via the shortname is only supported when on HTTPS.
Note that some fields can be displayed with just single tags while others would require a tag pair with extra variables. More information can be found in the documentation for the field’s specific field type.
Date Tab
Entry Date
The entry date is the primary date associated with an entry. You may use the interactive calendar to set the date/time. If you specify a date in the future, ExpressionEngine will not display the entry on your site until the date has arrived. This behavior can be overruled if you instruct ExpressionEngine to include “future dates” in the Channel Tags in your Templates.
Expiration Date
You may optionally specify an expiration date for the entry, causing the system to no longer show the entry anywhere on your website after that date. You may also use an interactive calendar to set the date/time.
Comment Expiration Date
You may optionally specify a date on which comments for this entry will no longer be accepted. Once the date passes, the entry will act as though the Allow Comments checkbox (see below) is unchecked. You may also use an interactive calendar to set the date/time.
Categories Tab
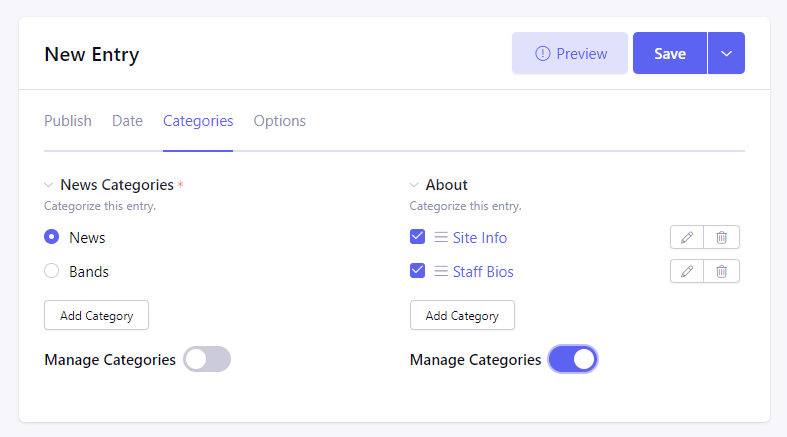
You may assign one or multiple (depending on channel preference) categories to your entry from the category groups associated with the channel.
Each associated category group will be rendered as a separate set of checkboxes. If multiple selections are not allowed they will render as a set of radio buttons. Selecting a category from a group can also be set as required for the channel.
Additionally, a “Manage Categories” toggle is provided which allows the user to add, edit or reorder categories within the group.

Options Tab
Author
You may select the author for this entry from the drop-down list. By default only the person submitting the entry is shown in the author list. If you would like to enable other authors so that the author name can be changed please see this troubleshooting page for information.
Channel
This option is only available when editing an entry.
This drop-down list will contain all channels that share the same Fields, Field Groups, Category Groups, and Statuses with the current channel for the entry. Using this option, you can move an entry from one channel to another channel that is set up similarly.
Status
There are two primary statuses that are always available: Open and Closed. Typically, “open” entries are viewable at your site, and “closed” entries are not. You can add additional statuses for editorial workflow in your Statuses page, and opt to display or suppress entries assigned to these by modifying the “status” parameter found in the various “Channel” Tags in your Templates.
Make Entry Sticky
If this option is checked, then the entry will be “stuck” at the top of the list when displaying multiple entries. This can be useful for things like announcement posts.
Allow Comments
If this option is checked, then comments will be allowed for this entry. When this option is unchecked, your comment submission form will be suppressed. Any existing comments will still appear.
Forum Tab
Note: This tab will only appear if you have the Discussion Forum Module installed.
The Forum tab allows you to optionally publish a forum topic to be associated with the channel entry. You can then automatically link to the created forum topic from within your {exp:channel:entries} tag using the channel_entries_forum_topic_id variable.
Forum Topic Title
You may specify the title to use for the new thread in the forum.
Forum Topic Text
This is the main text for the forum thread.
You may use {permalink} to link from the Forum Entry to the Channel Entry. This variable is replaced by the URL set in the Comment Page URL preference under Admin --> Channel Management. The URL Title of the entry will be automatically added. For example, this:
<a href="{permalink}">my entry</a>
Would be rendered like this:
<a href="https://example.com/channel/comments/ice_cream/">my entry</a>
Forum
Here you choose in which forum the new thread should be added.
Forum Topic ID
Instead of the previous settings, you may instead specify the ID for an existing forum topic. This is useful if the forum topic already exists, or if you want it to have a Poll or other special features.
This is an “either/or” type situation. You may either have a forum thread created for you by specifying the title, text, and forum or you may associate the entry with an existing ID.
Revisions Tab
Note: This tab will only appear if you have Entry Versioning enabled in the particular channel’s preferences at Admin --> Channel Administration --> Channels.
When Entry Versioning is enabled, every time you save changes to your entries they will be saved so you can go back in time and retrieve older versions of your entries. The Revisions Tab will show a list of all revisions for the entry being edited.
When a previous revision is selected it will be loaded into the Publish page form so you can view or further edit it. If you save your changes, a new revision will be created rather than updating the previous revision. In other words, every time you click the save button a new revision is stored.
Pages Tab
Note: This tab will only appear if you have the Pages Module installed.
Pages URI
Here you can choose the URI that will be used to display this “page” entry. Provide only the URI segments and not a full URL. Since this will be used in the URL, only URL safe characters are allowed, i.e. low ASCII alpha-numeric characters, underscore / dash separators, and periods.
CORRECT:
- /company/roster/board/ceo/
- /my_stuff/list.html
INCORRECT:
- https://example.com/company/roster/board/ceo/
- /my_stuff/über_list.html
Note: Entries cannot share the same Page URI. Each “page” entry must be given a unique URI so the system knows which entry to display when the Page URI is requested.
Template
Here you can choose which template to use to display this “page” entry when the above URI is requested.
Form Buttons

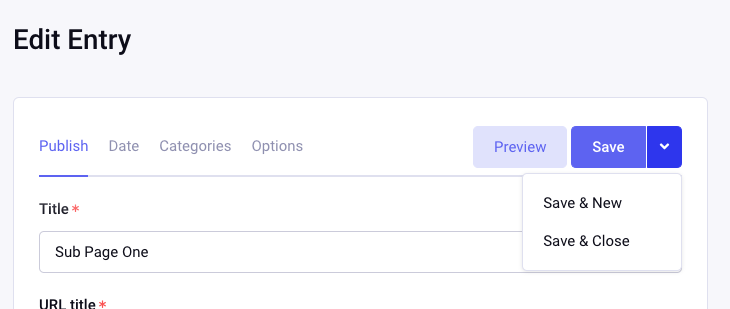
Save
Saves the entry and refreshes the current page.
Save & New
Saves the entry and returns a new, blank create form for the same channel.
Save & Close
Saves the entry and returns the Entry Manager page, filtered to the entry’s channel.
Preview
A live preview of the entry is available if the channel_prefs_preview_url is set or the Pages Module is installed and a Page URI and template have been set.
If neither is set, the preview button will have an exclamation mark (!) and will link to channel preferences page where Preview URL can be set.
The preview will open a split screen that allows a live preview of edits. The template used to display the preview is based on the Page fields if set and the channel preview URL otherwise.
When the preview is triggered, it is being displayed side-by-side with edit screen. The size of preview container can be adjusted with mouse dragging its border. The preview is dynamically being updated as you change the fields.
