Channels
Control Panel Location: Developer > Channels
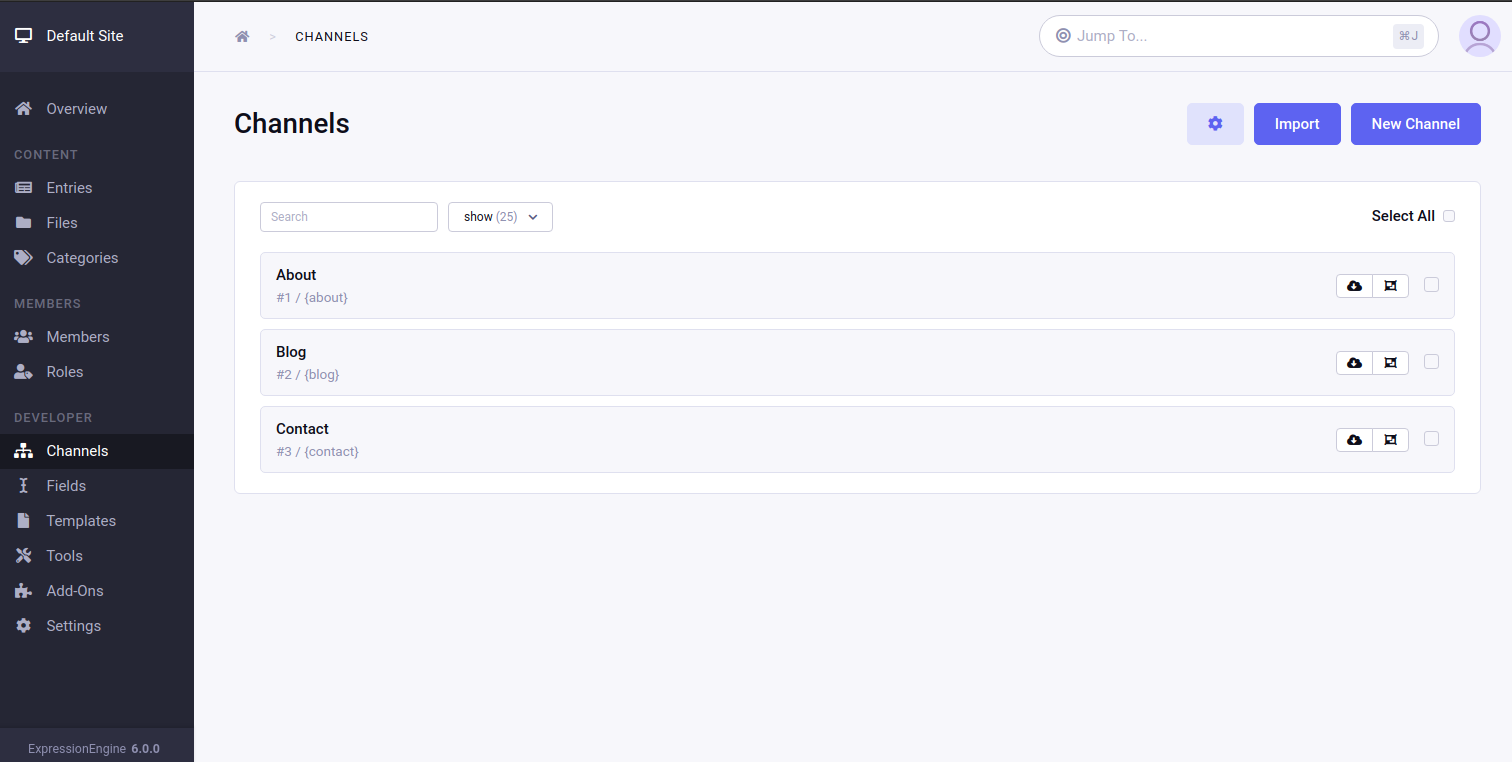
This section of the Control Panel is where channels are created, edited and deleted.
The channel shortname on the main display supports quick copying the full template tag for the channel, including all fields assigned to the channel. The copied code is ready to use on your templates. Displaying the short name can be toggled on or off in the Role settings.
Due to security restrictions in modern browsers quick copying code via the shortname is only supported when on HTTPS.

Create/Edit Channel
Control Panel Location: Developer > Channels > New/Edit Channel
This section of the Control Panel allows you to create and edit channels.
Create/Edit Channel form tabs:
Channel tab
Control Panel Location: Developer > Channels > New/Edit Channel > Channel
The Channel tab has fields for basic information about the channel:
- Name – A descriptive name for the channel. This is the name of your channel that you will show to visitors and display on your site. The full channel name is a required field. Spaces, punctuation, and other special characters are allowed.
- Short name – The name used internally within the program. It is also used when specifying a channel in variables of parameters in your Template Manager. It is not normally shown to visitors or otherwise exposed outside of your channel “setup”.
- Maximum number of entries – Limits the number of entries that are allowed to be published in the channel. This can be useful for channels that need their content creation limited to a set number of entries. For example a limit of 1 will make this channel effectively a “single entry channel” and only allow a single entry to be created. A limit of 5 would allow between 0 and 5 entries to be created. Leaving this setting blank (the default) applies no limits to the number of entries a channel can contain.
When creating a new entry, you can choose to duplicate the structure of an existing channel here as well.
Fields tab
Control Panel Location: Developer > Channels > New/Edit Channel > Fields
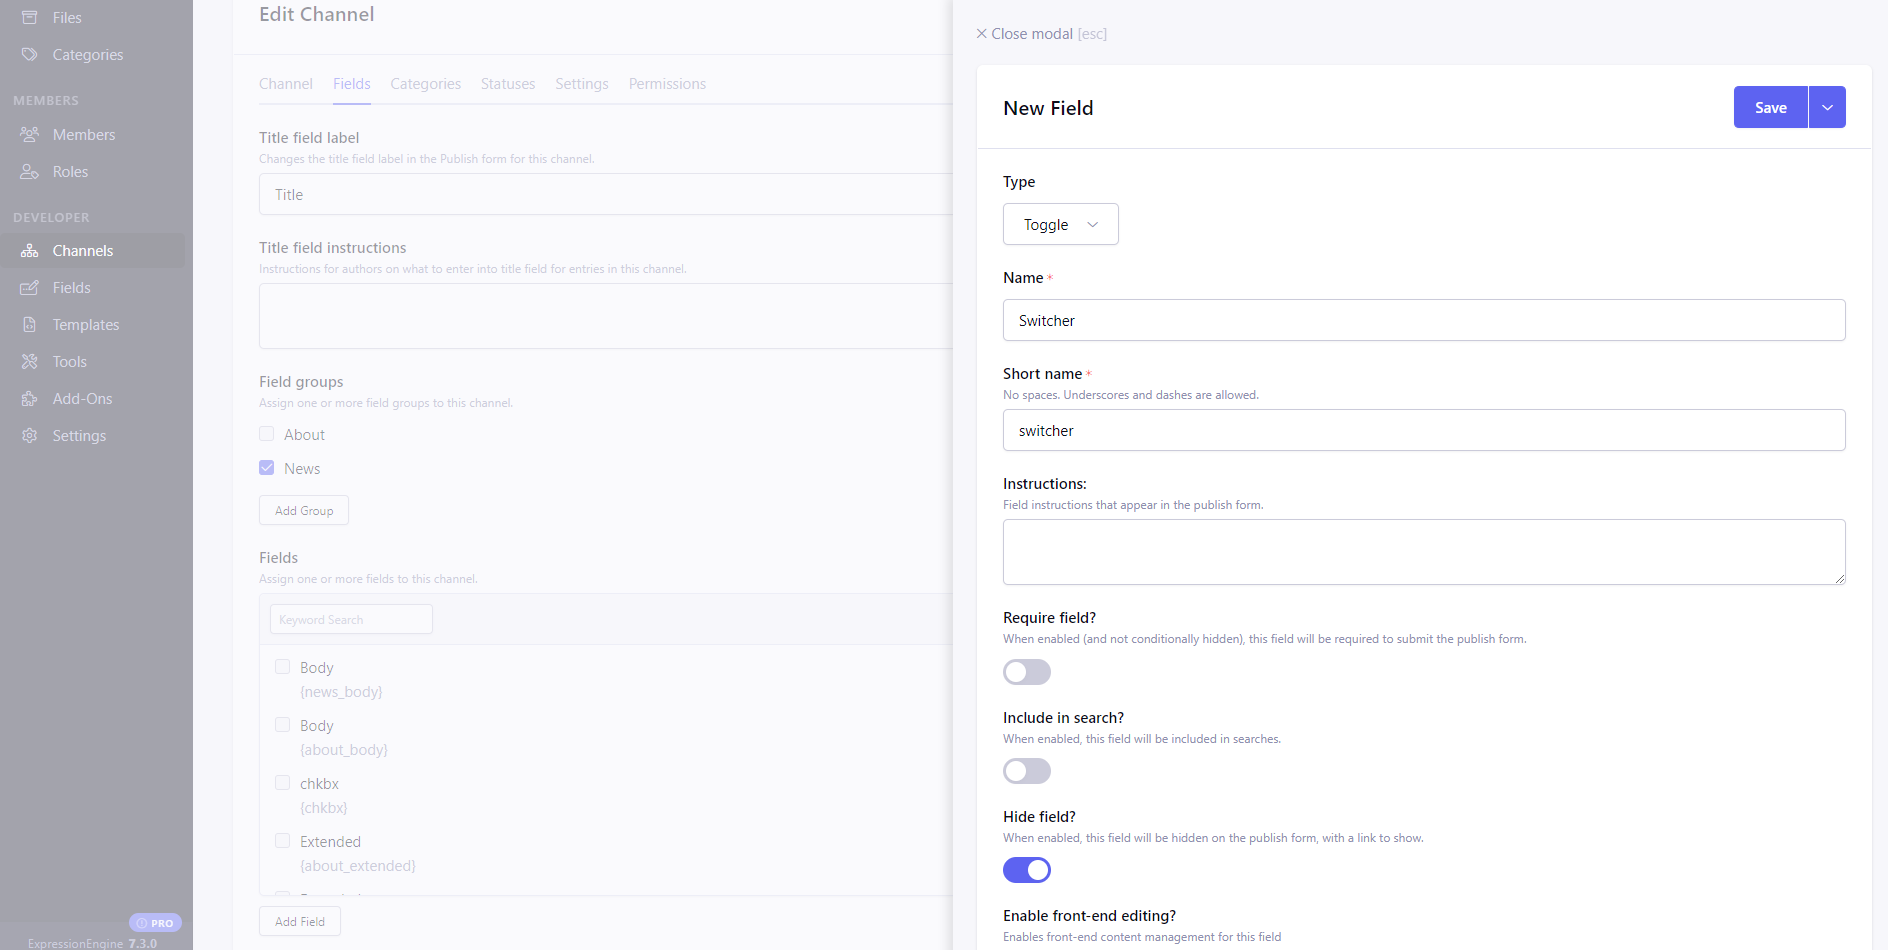
The Fields tab contains the channel’s field and field group assignments.
A channel can have any combination of fields and field groups assigned to it. You can also create fields and field groups on this tab, for a smooth workflow.

Categories tab
Control Panel Location: Developer > Channels > New/Edit Channel > Categories
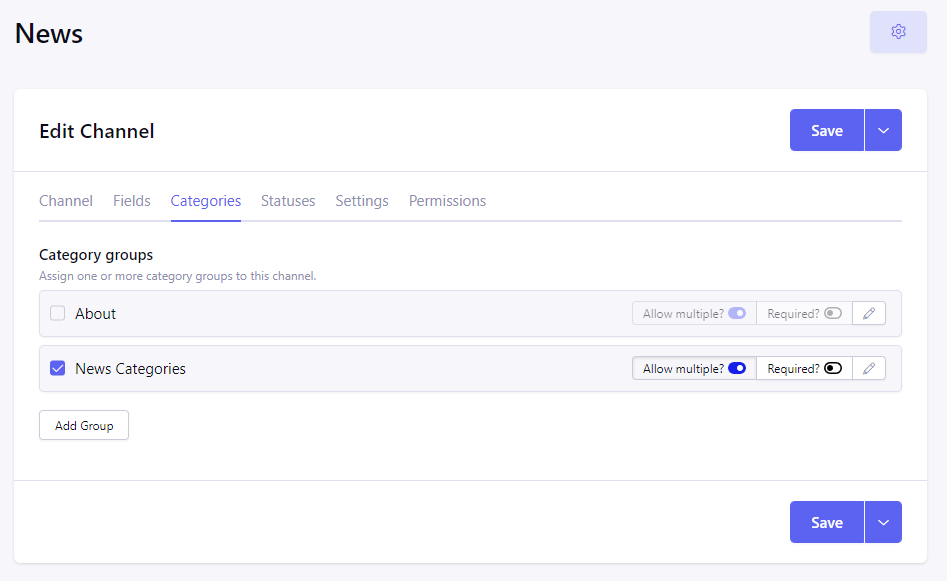
This tab allows you to create and assign category groups to your channel. A channel may have multiple category groups assigned, and groups can be created on the fly on this tab.

For each category group assigned to a channel, the following per-group settings are available:
| Setting | Default | Description |
|---|---|---|
| Allow multiple? | Yes | When turned on, multiple categories from the group can be selected for an entry |
| Required? | No | When turned on, selecting at least one category from the group is required to save an entry |
Statuses tab
Control Panel Location: Developer > Channels > New/Edit Channel - Statuses
The Statuses tab allows management of the channel’s assigned statuses. By default, a channel will have Open and Closed statuses assigned, but new statuses can be created on this tab and their assignment to the channel managed.
Statuses have the following settings:
- Name – The name for the status. It is what will be displayed when creating a new channel entry.
- Highlight color – Specify a highlight color for this status. This is the color of the status name in the Entry Manager main table. This field will take standard CSS color values as input.
- Status access – Allows you to specify whether or not a Member Role can access a particular status in the Publish page. Only works with members that have access to the Control Panel (besides the Super Admin group). This feature can be used to establish a workflow for multiple Roles. One group might submit entries that are placed in a “closed” or “draft” status, while another group can review the entry and assign it to be “open”.
Settings tab
Control Panel Location: Developer > Channels> New/Edit Channel > Settings
This tab holds a large number of channel specific settings, including channel specific default URLs, publish page defaults, channel form settings, revision and notification settings, and comment and formatting settings:
Note: We recommend using the default base URL variable {base_url} defined in URL and Path Settings in your URL settings.
- Description – A short description of the channel. Spaces, punctuation, and other special characters are allowed. This is used, for example, in RSS feeds.
- XML language – The XML language setting that you can use for your channel pages. This information is available as a variable for use in the channel Templates.
- Channel – The full URL to the main page for this channel.
- Comment form – The full URL to the “comments” page for this channel. The URL should include the Template Group and Template. For example: https://example.com/channel/comments/
- Search results – The full URL where you would like search results from this channel to be pointed. The URL should include the Template Group and Template. For example:
{base_url}/index.php/channel/comments/. - RSS feed – The URL where you can view the RSS feed for this channel. For example: https://example.com/channel/rss_2.0
- Preview URL – The template path, or route, to use for Live Preview in this Channel. You can use the variables
{entry_id}and{url_title}which will be replaced with the entry’s ID or URL Title when rendering your template. For example:blog/entry/{url_title}Note: If an Entry has a Page URI it will be used instead of the Preview URL for the channel. - Allow Preview – When set to yes, the entry preview will be allowed, don’t forget to set the Preview URL too.
- Generated title – When a new entry is created or previewed, this value will be inserted by default in the Title field. This is helpful if you wish every entry in a channel to have the titles follow a certain format. The automatic URL Title creating javascript for the Publish page will ignore this text during processing.
- URL title prefix – When a new entry is created or previewed, this value will be appended to the beginning of the url_title value, which will help you insure that url_titles are unique between channels.
- Enforce automatic URL title – Make the URL title field read-only and generate a unique value for it automatically. This is useful for entries that don’t have their own page on front-end or if you just want to skip the routine of generating a URL Title. Note that when this setting is turned on, you will also not be able to change URL Titles for existin entries in the channel.
- Status – The default status for new channel entries. The available options depend on what Statuses the channel is assigned to use.
- Category – The default category for new channel entries. The available options depend on what Category Group the channel is assigned to use and which categories are defined for that group.
- Search excerpt – You can specify which field from your entries to use in search result excerpts. The list is dynamically populated depending on which Fields the channel is assigned to use. Only fields that have been set as “searchable” will be included.
- HTML formatting – This setting determines how raw HTML code within entries is handled.
- Show extra publish controls? – When set to yes, a second set of publish controls will appear at the top of the publish form for this channel.
- Allow image URLs? – You can determine whether or not you want people to be able to display images within your entries by using the URL for the image. If “Yes” is selected for this option, people can display images as inline content in your channel. If the setting is “No” then images will not be allowed.
- Render URLs and Email addresses as links? – When this option is set to “Yes”, any full URLs or email addresses will be automatically formatted as a valid HTML link to the address. If the option is “No” then the URL or email address will be treated and displayed as plain text.
- Enable Sticky entries? – When enabled, entries can be marked as sticky and have preference in sorted listings.
- Enable entry cloning? – (ExpressionEngine Pro feature) When enabled, entries can be cloned using “Clone to New Entry” option in Save options dropdown.
- Status – Status assigned to all new entries in the channel.
- Author – Default author for guest entries posted via Channel Form.
- Allow guest submissions? – When set to yes, unregistered users will be able to submit forms for this channel.
- Enable entry versioning? – When set to enable, ExpressionEngine will save revisions of each entry for this channel.
- Maximum versions per entry – Maximum number of revisions to be saved per entry.
- Enable author notification? – Whenever a new comment is submitted, the author of the entry can be notified. An email will be sent to the email address associated with the author member in the system.
- Enable channel entry notification? – If the previous setting is set to “Yes”, then these are the recipients of the email alert. You may define a single email address or list multiple addresses by separating them with a comma. Ex: “[email protected], [email protected]“
- Enable comment notification? – You can specify a list of email addresses to receive notifications when a comment is posted. This setting determines whether or not the list will receive the updates. The addresses are specified in the next setting. If the previous setting is set to “Yes”, then these are the recipients of the email alert. You may define a single email address or list multiple addresses by separating them with a comma. Ex: “[email protected], [email protected]“
- Allow comments? – Determines whether or not comments are allowed in this channel.
- Allow comments default? – When set to yes, the “Allow comments” option on the publish page will be set to “yes” by default
- Require membership? – Determines whether visitors to the website must be members in order to post. If this preferences is set to “Yes” and an unregistered visitor attempts to post a comment the comment will not be accepted and the visitor will receive a message.
- Require Email? – You can optionally require that anyone posting comments must list an email address. You can determine in your Template Manager whether or not the address is shown publicly, but requiring an email address in order to post comments can help reduce the number of “spam” comments you receive since the visitor must submit a valid email address.
- Moderate comments? – If this option is enabled, then comments will not immediately appear on the site. Instead, the comments will go into a queue and await review/moderation by an administrator. Member Roles (such as the SuperAdmin Roles by default) can be set to bypass comment moderation and have their comments posted immediately. That option can be set at
Members --> Member Roles. - Maximum characters allowed? – You may set a maximum number of characters allowed in any comment. Setting this preference to 0 (zero) will not place a restriction on the number of characters allowed.
- Comment time limit – This is the optional number of seconds that must lapse after a comment is posted before that same user can post another comment. This setting can help reduce comment “spam”. The preference can be left blank or set to 0 (zero) if you do not want to impose a limit.
- Comment expiration – The number of days after an entry is posted in which to allow comments. After that period has expired, the entry will be closed to commenting and the comment form will no longer appear. Existing comments will still be displayed. Enter 0 (zero) for no expiration. Note that this preference sets the default setting for the channel. The setting can be overridden and changed on a per-entry basis. You may override this setting in the Comment Module Control Panel section of the Comment Module so that comments are set to be moderated rather than closed once the expiration period is passed. If you also select the checkbox accompanying this setting, then all existing entries in this channel will be updated to reflect the new setting when you submit.
- Text formatting – This setting determines how comments are formatted by the system. There are three possible choices:
Auto line break,None, andXHTML - HTML formatting – Like the channel setting, this preference determines how raw HTML code within comments is handled. There are three options:
- Convert to HTML entities – This will convert any HTML tags to their encoded versions and output the HTML tag as text without rendering the HTML in the DOM. For example:
<h1>would become<h1>. - Allow only safe HTML – This will remove any unsafe HTML tags as defined in the Typography library.
- Allow all HTML (not recommended) – This will allow any HTML to be saved and output as-is. For example:
<h1>test</h1>would actually render anh1in the DOM.
- Allow image URLs? – You can determine whether or not you want people to be able to display images within comments by using the URL for the image.
- Render URLs and Email addresses as links? – When this option is set to “Yes”, any full URLs or email addresses in comments will be automatically formatted as a valid HTML link to the address. If the option is “No” then the URL or email address in comment body will be treated and displayed as plain text.
Publish Layouts
Control Panel Location: Developer > Channels > Layouts

The Publish/Edit page can be customized, with the layout saved per member role, per channel.
Create/Edit Publish Layouts
Control Panel Location: Developer > Channels > Layouts > New/Edit
Tip: Side by Side Fields Using Layouts
This section of the control panel is where channel layouts are created or edited.
Editors in a member role will see the Publish / Edit entry page in accordance with the assigned publish layout for that channel.
The publish layouts are capable of organizing fields into tabs, reordering fields, changing their width for organizing into columns, and hiding the fields that should not be visible.
Each layout needs to be assigned to one or several member roles. However, each role can have only one publish layout assigned.
You can have one publish layout for all editor roles, or you can have different layouts for different roles. When only a small adjustment is needed, the publish layout can be duplicated using “Clone to New Layout” option in “Save” dropdown.
Channel Set Import
Control Panel Location: Developer > Channels > Import
