File Manager
Control Panel Location: Files
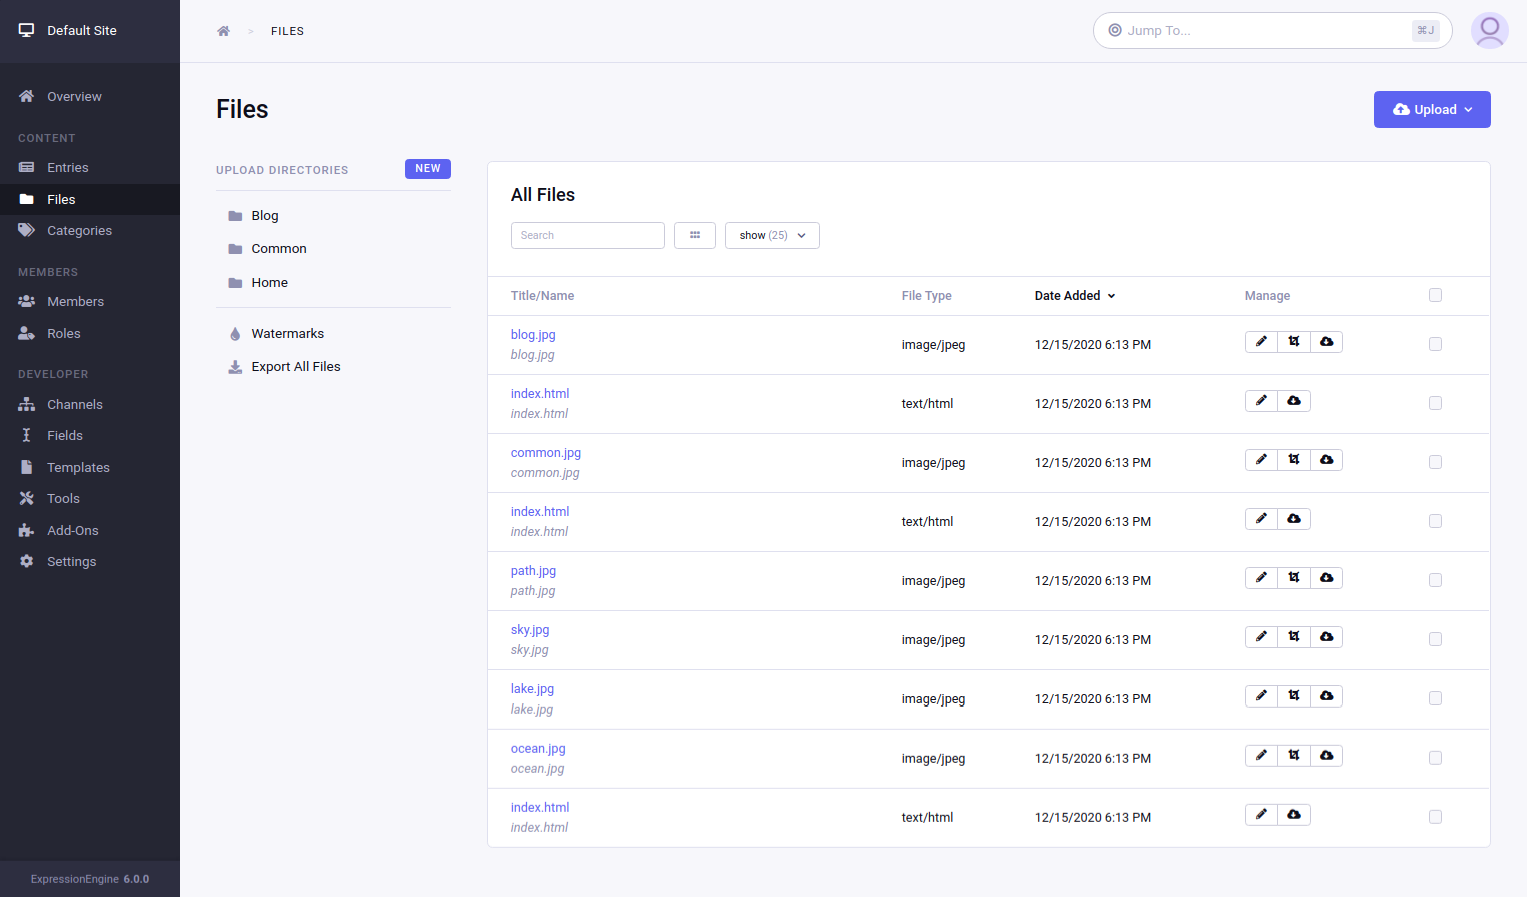
On the main File Manager page you can view all of your previously uploaded files. Files can be searched by keyword as well as filtered by upload location. You can also select multiple files using the checkboxes on the right, and then download the files or delete them using the dropdown menu at the bottom of the page.
This page also allows you to do the following:
Create/Edit Upload Directory
Control Panel Location: Files sidebar > New/Edit
Here you can create and edit upload directories, changing the URL and path of the files, along with restricting the types, the default modal view, the maximum file size, image height and width, and image manipulations.
The following options are available when creating an upload directory:
Name
A descriptive name of the upload destination.
Upload directory
The full URL to the new destination. For example: {base_url}/images/uploads/. We recommend using the default base URL variable {base_url} defined in URL and Path Settings in your directory URLS.
Upload path
The full server path (not a URL) to the upload folder for this destination. For example: {base_path}/images/uploads/. We recommend using the default base path variable {base_path} defined in URL and Path Settings in your directory paths.
Allowed file types?** – You have two choices for this preference:
- Images only: The system will only allow image files of the type GIF, JPG, JPEG, or PNG.
- All file types: Allows you to upload files of any type to the system. Be careful with this setting since it could be possible for someone to upload a malicious file.
Note: Only file types that are specified in ExpressionEngine’s Mime Type file are allowed to be uploaded. The Mime Type file can be found at: system/ee/legacy/config/mimes.php. If you are uploading something uncommon and run into problems you may need to add the mime type for your file to the allow list. See MIME allow list and Mime member exception allow list for more info.
Default modal view?
Default view for this upload directory in the file picker modal.
File size
You can optionally set a maximum allowed size in kilobytes for uploaded file. Leave blank if you do not wish to impose a limit.
Note: Servers usually also have built-in limits on the amount of data that can be uploaded via PHP at one time. The default value for this in PHP is 2 MB. If you have a need to upload very large files, then you should contact your Host or server admin and talk to them about any size limits they have in place.
Image width
Optionally set the maximum allowed width in pixes for uploaded images. Images over this setting will be automatically resized.
Image height
Optionally set the maximum allowed height in pixes for uploaded images. Images over this setting will be automatically resized.
Constrain or Crop
Specify one or more alternate versions of an image that automatically get created when the original image is uploaded. A manipulation can include a resized version, a watermark, or both. You can refer to a particular Image Manipulation in your templates via a File Field’s single variable tag or its variable pair tag. The resize type will determine whether the image is constrained (resized) or cropped to the specified dimensions. If only height or width is specified, the thumbnails will be created using that as the master dimension. For example, setting the height to 200 and leaving the width blank will result in an image that is no higher than 200 pixels, with the width resized proportionately. Setting both the height and the width to 200 would result in an image that is no higher or wider than 200 pixels.
Allowed member roles
This setting allows you to specify which member roles have permission to upload files to the upload destination.
Allowed category groups
Files may be assigned to specific categories, just like entries are. Here you can specify which category groups you want to make available to files in this upload directory. Images can be displayed by category using the File Module.
Upload Files
Control Panel Location: Files > Upload File button
This part of the control panel allows you to upload files to a specific upload directory.
Sync Directory
Control Panel Location: Files > Sync
The Synchronize Files page allows you to synchronize the file records in the database with the files stored in a given upload directory. To load this page, click on the directory you wish to sync in the sidebar, then click on the sync icon next to the title in the main content area.
When submitted, all allowed file types in the directory will be checked against the file records in the database. If there is no record in the database, one will be added. For images, any additional sizes will be generated and watermarked according to the file upload preferences for that directory.
Lastly, any records in the database that do not have a corresponding file in the main directory will be highlighted as not found.
Crop, Rotate & Resize Images
Control Panel Location: Files > Crop button
The Image Editor page of the Control Panel allows you to perform basic image editing tasks directly from ExpressionEngine. It is not intended to replace powerful image editing software such as Photoshop, but rather to provide a quick option for common tasks from within the control panel.
The Image Editor allows the following transformations:
- Crop – Clip part of an image and change its width and height.
- Rotate – Rotate an image by 90° rotations, or flip it vertically and horizontally.
- Resize – Change an image’s width and height.
Edit File Meta Data
Control Panel Location: Files > Edit
This part of the control panel allows you to edit a file’s meta data.
The following meta data is available:
- Title – A title to use when listing the file in the File Manager.
- Description – A description of the file.
- Credit – Crediting the author/owner of the file.
- Location – Where was the file created?
- Categories – Assign the file to categories from the category group(s) assigned to the file’s upload directory.
You can edit a files meta data by clicking on the file or the edit button in the Files page.
Watermarks
Control Panel Location: Files sidebar > Watermarks
This section of the Control Panel allows you to manage watermark settings. A watermark is a unique text string or graphic that is automatically added to your images to mark them as “yours” and to hamper other people from being able to “steal” your images. You can create as many watermark types as you need and apply them to your automatically created thumbnails while creating or editing an upload directory.
Watermarks have the following options:
- Name – A descriptive name for the watermark
- Type – The type of watermark. Can be either a image or text.
- Alignment – The vertical and horizontal position of the watermark.
- Padding – The amount of padding between the watermark and the image edge.
Text Watermarks have the following extra options:
- Text – Specify the text you wish to be used for the watermark.
- Font face – The True Type font for the text to use. By default, the “texb” font is included with ExpressionEngine. If you wish to use a different font then you will need to upload it to your system/fonts/ directory. Note: The font selection works only when “Use True Type Font” is enabled.
- Text size – The font size of the watermark text, in pixels. Note that this is the font size that will be applied to the full-size image. The font size will be scaled proportionally with the image size if applied to the thumbnail or medium sized image. Note: The font size selection works only when “Use True Type Font” is enabled.
- Text color – The watermark text color, in hex.
- Enable dropshadow? – If enabled, a dropshadow will be added to the watermark text. Dropshadows usually make the text easier to read, especially when used on images with greatly varying color.
- Dropshadow distance – The distance to offset the dropshadow from the regular text, in pixels.
- Dropshadow color – The dropshadow color, in hex.
Image Watermarks have the following extra options:
- Path – If you wish to test your watermark settings then you may specify the server path to a test image. This will allow you to see how it would actually appear on a real image. A server path is typically something similar to
/home/domain.com/http_docs/cp_images/watermark_test.jpg. The specific setting will vary from server to server so you may need to contact your Host or server admin to determine what your correct “server path” is. - Opacity – The opacity (i.e. transparency) of the watermark image. This allows the watermark to be faint and not completely obscure details from the original image behind it. A 50% opacity is typical.
- Image transparency map – Specify a color on the image to be “transparent” for PNG or GIF images. This works by specifying the “X” and “Y” coordinate pixel (measured from the upper left) within the image that corresponds to a pixel representative of the color you want to be transparent.