Retired Documentation: You are using the documentation for version 1.7.3 which was retired in 2013. Go here for the latest version documentation or check here for your available upgrades to the latest version.
Quick Start Tutorial - Step 4Create A Secondary Template
The Goal: To create a secondary template which will eventually contain the full text of your entries.
Create Another Template
The "index" Template that was created by default will be where you display the "summaries" of your webog entries. Now you need to create one more Template in the "tutorials" Template Group to display the "full" version of all the weblog entries you publish.
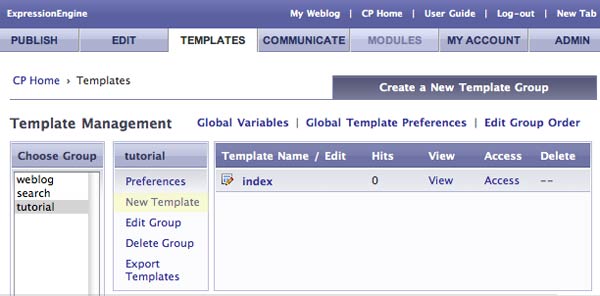
To create a new Template in a Template Group, just open the Template Group by clicking on its name. In the left column click "New Template", highlighted in the screen shot below.
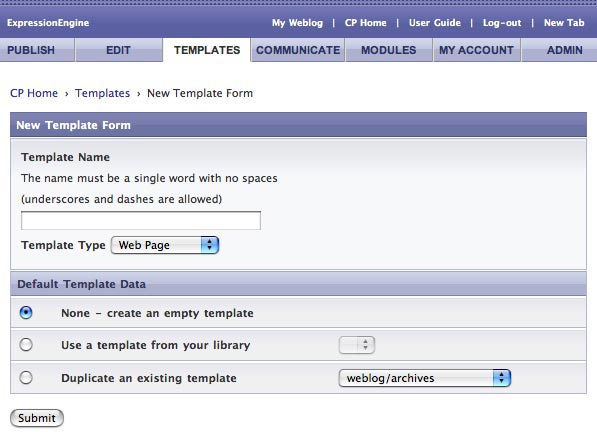
You should see the New Template Form, shown below.
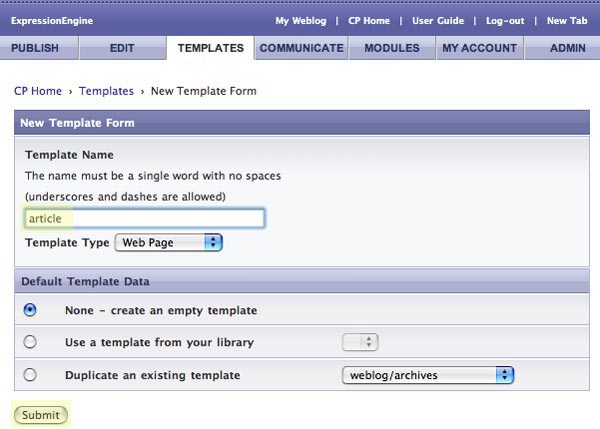
Name the new Template "article," leave all the other settings as default, and click submit.
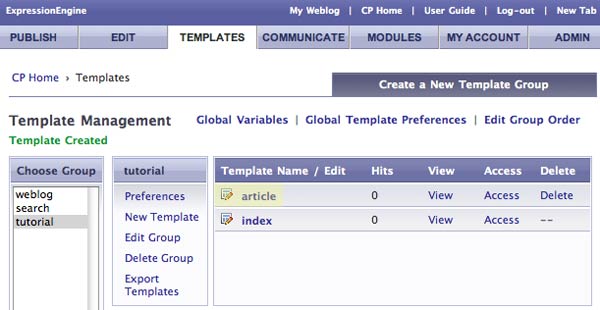
After clicking submit, you'll automatically return to the Templates section of the Control Panel. The "tutorials" Template Group will be open and you'll see the new "article" Template in the list similar to the screen shot below.
Now click on "article" to edit the template. Copy and paste the code below into the article Template and update it.
<html>

<head>

<title>My Article</title>

</head>

<body>


<h1>The title of my post</h1>


<div class="entry">


<p>The full version of my article (my post) will go here.</p>


</div>


</body>

</html>
When you view the article Template it should like similar to this.
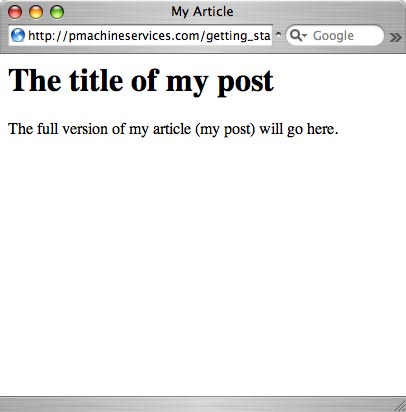
Now that you've got your Templates ready, you can create some content for your web site. To do this, you'll create a new "weblog."