Retired Documentation
You are using the documentation for version 2.11.9. Go here for the latest version or check here for your available upgrades to the latest version.
Translation Utility
Control Panel Location:
This Translation Utility page of the Control Panel allows you to translate the core language files into other languages.
When you use this utility it will create a copy of any file you have translated and put it into the following folder: system/expressionengine/translations/
In order to be able to create translation files, you need to set the file permissions to 666 or 777 for the following folder: system/expressionengine/translations/
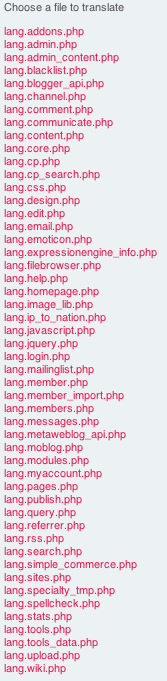
The main Translation Utility screen shows a list of all the language files currently installed.
When you choose a file name you will be presented with a page showing a list of English words or phrases. Next to each line of text you’ll see an input box where you will enter the translated version of the text.
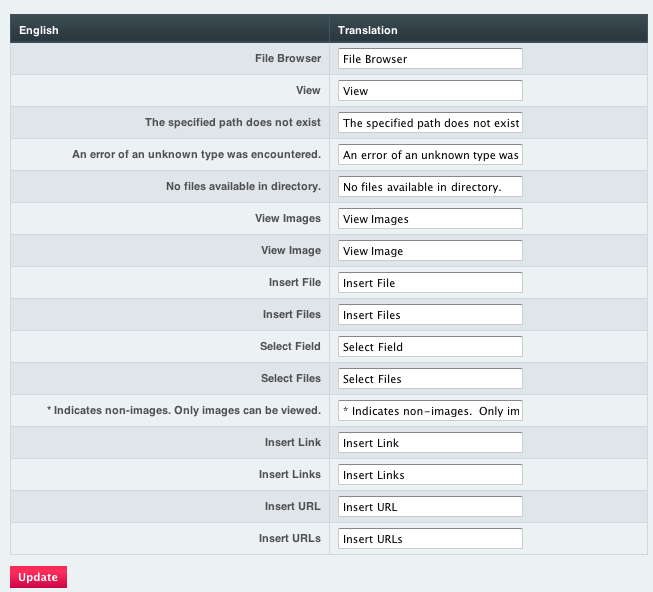
Once you have translated all the text for a particular file you will click the Save Changes button and ExpressionEngine will create the new translated file inside the translations folder.
You can also Save Changes at any point you like; you don’t have to complete the translation before saving.
Updating Translations
Sometimes you may wish to update an older version of a language pack to be compatible with a new version of ExpressionEngine. To update a language pack:
- Choose “English” as your language under .
- Place a copy of the old language pack inside of the system/expressionengine/translations/ folder. Ensure that the files are set to permissions of 666 so that ExpressionEngine can modify them.
- As you go through each files using the Translation Utility any new untranslated text will appear in English.
- Save the translated version of each file and you will have an updated language pack.